This post contains affiliate links. As an Amazon Associate, we earn from qualifying purchases. View our full disclosure here.
A proper nighttime skincare routine is crucial for waking up to glowing, healthy skin. While you sleep, your skin works hard to regenerate itself through the reparative phase. Follow the steps in this article in the optimal order to maximize skin renewal overnight and protect your skin from environmental stressors like sun damage.
The key to waking up with a fresh, radiant glow is tailoring your evening skincare routine to your skin’s specific needs. Cleansing, toning, applying targeted treatments, and locking everything in with a moisturizer will ensure your skin looks rejuvenated by morning. Consistency is vital – commit to making each night a ritual!
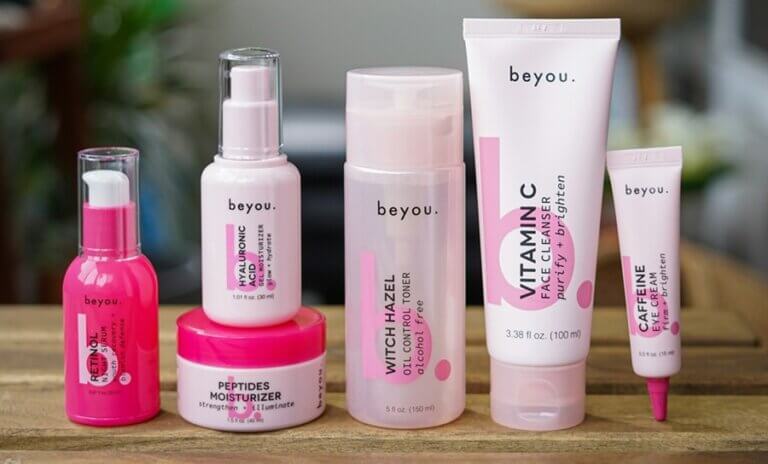
Steps for waking up to glowing skin
The key steps in an effective PM skincare routine include:
Step 1: Double Cleanse
Why you need it: Cleansing is the foundation of healthy skincare. At night, always start by removing your makeup with an oil or balm cleanser to break down waxes, oils, and pigments. Massage the cleanser gently into your skin and rinse off with warm water.
How to apply: Follow with a foaming or gel cleanser to wash away any remaining impurities from the day without stripping your skin.
- Start with a small amount: Most cleansers only require a pea-sized amount for your entire face. This helps prevent waste and potential irritation from using too much product.
- Apply to dry skin (unless instructed otherwise): Some cleansers, like oil cleansers, work best on dry skin. However, some water-based cleansers might require dampening your face first. Always follow your specific cleanser’s instructions.
- Gently massage: Apply the cleanser to your face and neck in circular motions. Be gentle and avoid harsh scrubbing, as this can irritate your skin. Focus on areas prone to oiliness, like your T-zone (forehead, nose, and chin).
- Avoid your eyes: Most cleansers are not formulated for the delicate eye area and can cause irritation. Use a separate, gentle eye makeup remover for this area.
- Rinse thoroughly: Rinse your face with lukewarm water to remove all traces of the cleanser. Use a clean washcloth or your hands, patting your face dry instead of rubbing.
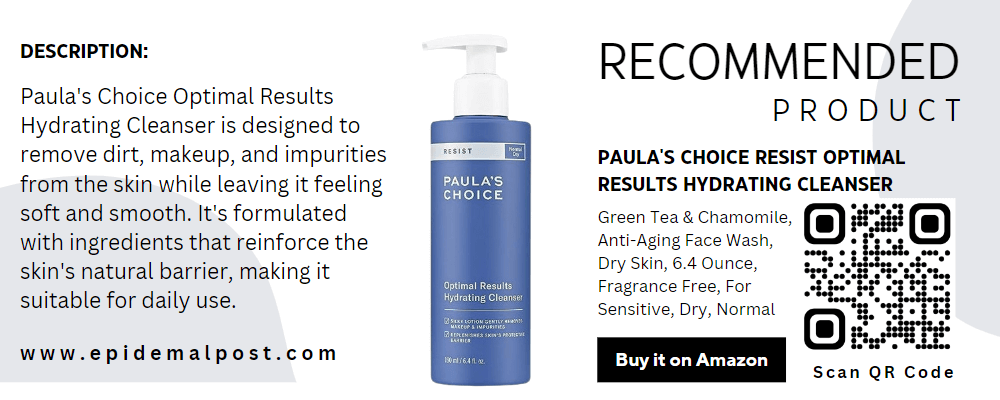
Look for a gentle cleanser with a neutral pH to protect your skin’s microbiome. If you have dry skin, opt for a hydrating cleanser containing ceramides. Those with acne-prone skin may prefer a cleanser with salicylic acid.
Exfoliating 2-3 nights per week will slough off dead skin cells and reveal brighter skin. Just don’t overdo it, especially if you have sensitive skin.
Step 2: Tone
Why you need it: After cleansing, your skin’s pH gets disrupted. Restore balance with an alcohol-free toner containing ingredients like rose water, green tea, aloe vera, or hyaluronic acid. Toners prep skin to absorb the treatments in the steps ahead.
How to apply: Choose your application method: You have two options:
Method 1: Cotton pad: Soak a cotton pad in toner, making sure it’s damp but not dripping. Gently swipe the pad across your face and neck, avoiding the eye area and lips.
Method 2: Fingertips: Apply a few drops of toner directly onto your fingertips. Gently press the toner into your skin, focusing on areas prone to oiliness or congestion. This method helps minimize waste and can be gentler on the environment. Pat the toner gently onto your skin to aid absorption. Don’t rub, as it can irritate your skin. Allow the toner to dry completely before applying your next skincare products, like serums or moisturizers. This usually takes about 30-60 seconds.

Look for formulas with soothing botanicals or hydrating glycerin if you have dry, sensitive, or reactive skin. Acne-prone skin benefits from toners with tea tree, witch hazel, or salicylic acid.
Step 3: Serum
Why you need it: Serums offer several potential benefits depending on your specific skin concerns and goals. Serums have a thinner consistency than moisturizers, allowing them to penetrate deeper into the skin. This can be particularly beneficial at night when your skin is in repair mode and more receptive to active ingredients. They are formulated with specific active ingredients to address various concerns like wrinkles, acne, hyperpigmentation, or dryness. Using a targeted serum at night allows these ingredients to work uninterrupted while you sleep.
How to apply: Some specific serums might have additional instructions or recommendations. Always refer to the product label for the most accurate application advice.
- Dispense a small amount: Most serums require a relatively small amount, typically 2-3 drops, depending on the product and your face size. Start with a smaller amount and add more if needed.
- Warm it up (optional): Some people find it helpful to warm the serum slightly between their clean fingers before applying. This can improve its spreadability and absorption.
- Apply gently: Apply the serum to your face and neck, using gentle tapping motions. Avoid rubbing or pulling your skin. Spread the serum evenly, focusing on areas where you want to see specific results.
- Avoid the eye area: Most serums are not formulated for the delicate eye area and can cause irritation. If you have a specific eye serum, use it after your main face serum.
- Wait for absorption: Allow the serum to absorb completely before applying your next skincare product, typically a moisturizer. This usually takes about 30-60 seconds.

Look for key ingredients like:
Hyaluronic acid – to hydrate skin by locking in moisture. Opt for low- and high-molecular weight HA serums for multi-depth hydration.
Retinol or prescription retinoids – to increase cell turnover and collagen production. Start slowly to avoid irritation.
Vitamin C – to brighten skin and reduce signs of aging from sun damage. Use in the PM since vitamin C is unstable in sunlight.
Alpha-hydroxy acids (AHAs) like glycolic or lactic acid – to exfoliate dead skin cells and even out skin texture.
Niacinamide – to calm inflammation and balance oily skin.
Apply thinner, more concentrated serums before heavier moisturizers so they can penetrate effectively.
Step 4: Eye Cream
Why you need it: The skin around your eyes is thinner and more delicate than the rest of your face. It also has fewer oil glands, making it more prone to dryness and visible signs of aging like wrinkles and fine lines. Eye creams are formulated specifically for this delicate area, often with a lighter texture that absorbs easily and won’t clog pores. They may contain ingredients that are gentler and less irritating than those found in regular moisturizers.
How to apply: Some people find it helpful to warm a tiny amount of eye cream between their fingertips for a few seconds before application. This can improve its spreadability and absorption.
- Use a pea-sized amount: You only need a very small amount of eye cream, typically the size of a small pea, for both eyes. Using too much can clog pores and potentially irritate your eyes.
- Apply in dots: Use your ring finger to dot the product around your orbital bone, starting from the inner corner of your eye and working outwards towards your temples. Avoid applying too close to your lash line or directly onto your eyelids.
- Pat gently: Gently pat the dots of cream into your skin using your ring finger. Avoid rubbing or pulling the delicate skin around your eyes.
- Wait for absorption: Allow the eye cream to fully absorb before applying any other skincare products, like moisturizer. This usually takes about 30-60 seconds.
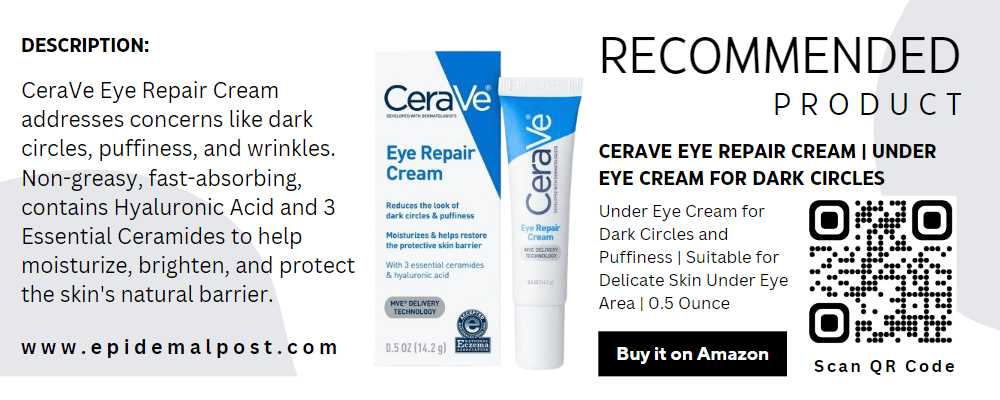
Look for an eye cream with hydrating and anti-aging ingredients like hyaluronic acid, retinol, niacinamide, ceramides, and peptides.
Step 5: Retinol
Why you need it: Retinol is a powerful ingredient often recommended for its anti-aging and skin-clearing benefits, making it a valuable addition to your nighttime skincare routine. Here’s a breakdown of its significance:
1. Enhanced Nighttime Cell Turnover:
During sleep, your skin undergoes a natural cell renewal process, shedding old cells and generating new ones. Retinol can accelerate this process, encouraging your skin to produce fresh, healthy cells at a faster rate. Since this renewal happens most actively at night, incorporating retinol in your nighttime routine allows it to work synergistically with your skin’s natural repair mechanisms.
2. Combats Signs of Aging:
As we age, our skin naturally loses collagen, leading to the appearance of fine lines, wrinkles, and loss of elasticity. Retinol helps stimulate collagen production, which plumps up the skin, reducing the appearance of fine lines and wrinkles and giving your skin a firmer, youthful appearance.
3. Targets Acne-prone Skin:
Retinol has anti-inflammatory and comedolytic properties, meaning it can reduce inflammation and unclog pores, which are key factors in acne formation. It can help minimize breakouts, improve skin texture, and prevent future breakouts.
4. Promotes Even Skin Tone:
Retinol can also help address hyperpigmentation and dark spots by inhibiting melanin production and promoting even skin tone. This can be beneficial for those struggling with sun damage, age spots, or uneven skin tone.
However, it’s important to note:
- Retinol can be irritating to some skin types, especially at the beginning of use. It’s crucial to start with a low concentration and gradually increase frequency as your skin tolerates it.
- Retinol makes your skin more sensitive to sun damage. Always use sunscreen with SPF 30 or higher every day, even on cloudy days, while using retinol.
- Consult a dermatologist or esthetician before incorporating retinol into your routine, especially if you have sensitive skin or any skin concerns. They can recommend the right product and guide you on its safe and effective use.
How to apply: Start with a low concentration – If you’re new to retinol, choose a product with a low concentration (0.3% or less) to minimize the risk of irritation. You can gradually increase the concentration as your skin adjusts.
- Apply at night: Retinol increases sun sensitivity, so it’s crucial to apply it only at night.
- Patch test: Before applying retinol to your entire face, do a patch test on a small area of your inner arm. Wait 24-48 hours to check for any allergic reactions.
- Use a pea-sized amount: A small amount, typically the size of a pea, is sufficient for your entire face. Using too much can increase the risk of irritation.
- Dot and spread: Apply small dots of the product to your forehead, cheeks, nose, and chin. Avoid the delicate eye area and the corners of your mouth. Gently spread the product in a thin, even layer.
- Avoid sensitive areas: Do not apply retinol to your eyes, lips, or any open wounds or irritated areas.
- Wait for absorption: Let the product dry completely before applying any other skincare products, such as moisturizer. This usually takes about 30-60 seconds.

Also read: The Ultimate Morning Skincare Routine for Glowing Skin
Step 6: Night Cream or Moisturizer
After water-based serums and treatments, seal everything in with a rich night cream or moisturizer. The outermost layer acts like a protective barrier against environmental aggressors as you sleep.
Why you need it: Night creams are typically formulated to be richer and thicker than day moisturizers. This is because your skin loses moisture at night due to various factors like reduced environmental humidity and natural cell regeneration processes. Night creams provide a protective layer that helps lock in moisture and provide essential nutrients to support your skin’s repair and renewal overnight.
Targeted Benefits: Like day moisturizers, some night creams are formulated with specific ingredients to address different skin concerns, such as:
- Anti-aging: Retinol, peptides, and antioxidants can help reduce wrinkles, fine lines, and improve skin firmness.
- Brightening: Vitamin C and other ingredients can help even skin tone and reduce hyperpigmentation.
- Soothing: Calming ingredients like aloe vera or colloidal oatmeal can be beneficial for sensitive or irritated skin.
Support Nighttime Repair: Your skin’s cell turnover and repair processes are most active at night. Night creams can contain ingredients that support these processes, such as ceramides which help strengthen the skin barrier and promote healthy cell function.
Consider your individual needs:
- Do you have specific skin concerns you want to address?
- Does your skin feel dry or tight at night?
- Is your current moisturizer already providing adequate hydration?
If you find your regular moisturizer is sufficient for your daytime and nighttime needs, then a night cream might not be necessary. However, if you experience dryness, have specific skin concerns, or want to maximize your skin’s health at night, incorporating a targeted night cream can be beneficial.
How to apply: Dispense a small amount – typically the size of a pea, depending on the product and your face size. Start with a smaller amount and add more if needed.
- Warm it up (optional): Some people find it beneficial to warm the cream slightly between their clean fingers before application. This can improve its spreadability and absorption.
- Apply gently: Apply the cream to your face and neck, using gentle upward and outward motions. Avoid pulling or dragging on your skin.
- Focus on areas: Pay particular attention to areas that tend to be drier or show signs of aging, like your forehead, around your eyes, and the corners of your mouth.
- Avoid sensitive areas: Don’t apply the cream too close to your eyes or lips, as it might cause irritation.
Additional tips:
Follow the instructions on your specific product: Some night creams might have specific application instructions or recommendations. Always refer to the product label for the most accurate advice.
Gently pat, don’t rub: Using a gentle tapping motion helps ensure the cream absorbs evenly without irritating your skin.
Patch test: Before applying any new product, including night cream, perform a patch test on a small area of your inner arm to check for any allergic reactions.
Be consistent: Using your night cream regularly will help maximize its benefits. Ideally, apply it every night after cleansing your face.
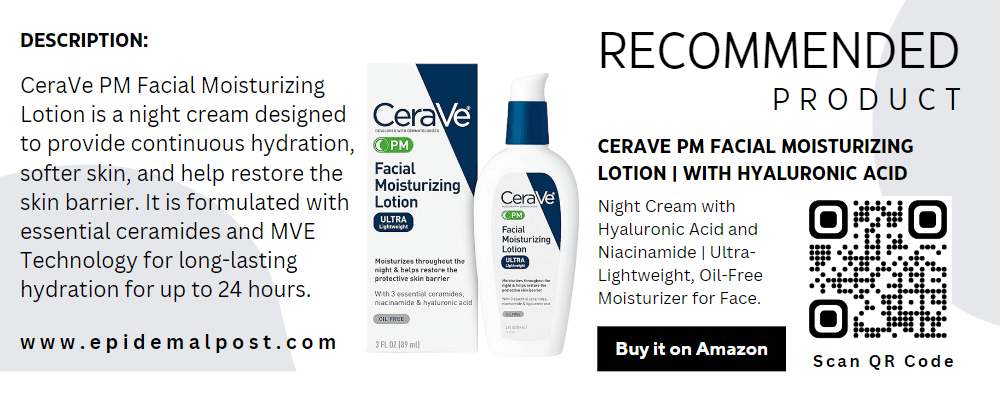
Look for a night cream packed with nourishing ingredients:
Ceramides to reinforce the skin barrier.
Plant oils like jojoba, avocado, and marula to soften and hydrate.
Peptides to firm and smooth skin.
Shea butter for dry skin needing an extra dose of moisture.
Hyaluronic acid to attract and retain water in the skin.
Bonus: Lifestyle Tips for Glowing Skin
Caring for your skin internally will maximize your nighttime routine’s effectiveness:
- Stay hydrated – Drink at least 64 oz of water daily.
- Manage stress through yoga, meditation, or journaling. Stress hormones impair collagen synthesis.
- Get 7-9 hours of quality sleep for optimal melatonin release. Sleep triggers increased blood flow to the skin.
- Eat antioxidant-rich foods like leafy greens, berries, tomatoes, and fish. They protect skin from free radical damage.
- Avoid sleeping on your side or stomach to prevent sleep lines and wrinkles. Opt for silk pillowcases and clean bedding.
- Limit alcohol intake which dehydrates the skin.
With a tailored evening skincare routine focused on cleansing, toning, targeting skin concerns, hydrating and sealing it all in, you’ll wake up each morning with healthy, glowing skin ready to face the day! Make it a relaxing ritual.

